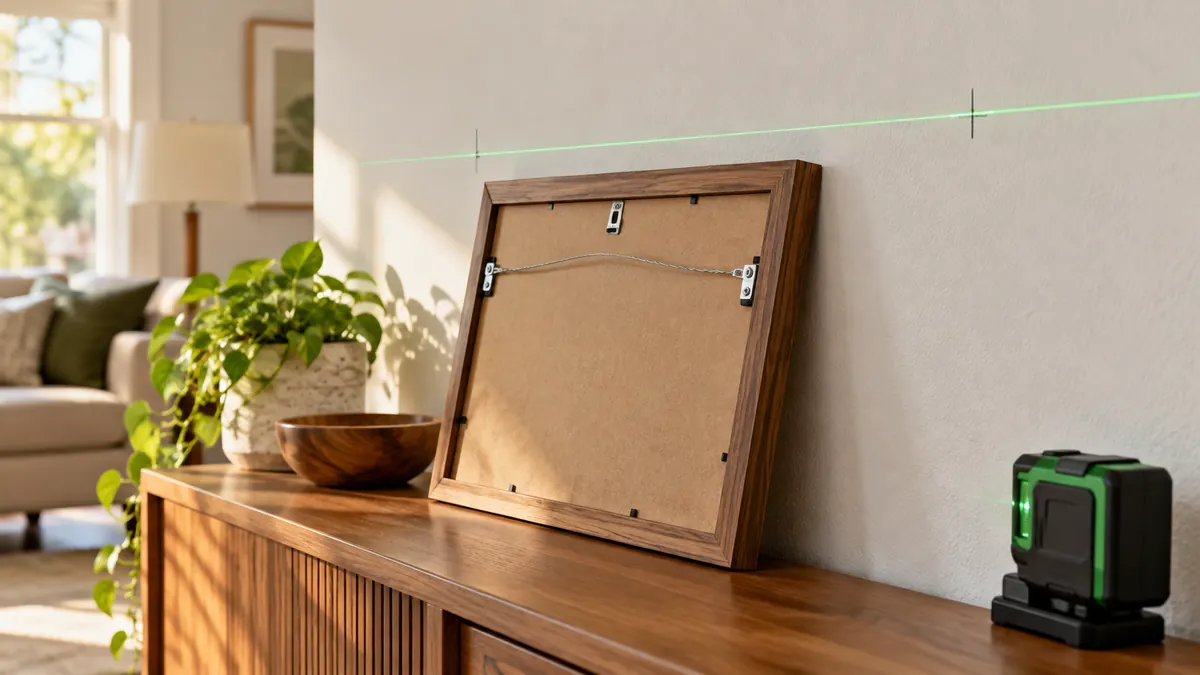
Knowing how to use a laser level on a wall means separating the visible reference from the fixing points you need to mark. Establish a horizontal or plumb reference, choose the finished position of the item, then measure from that position to its actual fixing points. That last step matters: the visible edge of a picture, shelf, or TV rarely tells you where every screw belongs.
Decide whether the layout should follow gravity or intentionally follow another feature. A level row of frames can look different from a row measured the same distance below a ceiling that slopes. Make that choice before drilling, not after the arrangement is on the wall.
For picture layouts, the mounting arrangement is often as important as beam coverage. These laser levels for picture hanging compare ways to hold the reference near the work, including the differences between compact crosses and manually aligned decorating tools.
How to Use a Laser Level on a Wall: Three Setup Decisions
Choose the finished height, the horizontal placement, and the reference you will preserve. For a gallery wall, that might be a shared top edge and a centerline through the arrangement. For a shelf, it could be the finished top surface at a stated position beside the doorway.
Put the item’s instructions and a measuring tape beside it. Inspect where the hardware actually engages. A slotted bracket may have an adjustment range; a frame wire may change position under load; two frames may have different hanging arrangements. Use the dimensions that describe the assembled installation.
If the controls are unfamiliar, review the basic operating sequence before laying out the wall. The line needs to be the intended kind of reference, not simply a straight stripe produced in an unknown mode.
A Wall-Marking Method You Can Reuse
- Identify the finished reference. Mark the intended height or plumb starting position lightly, where it will remain identifiable.
- Position the instrument securely. Leave the line of sight clear and keep the support away from your measuring and fixing path.
- Establish the appropriate mode. Align a manual tool or use the model’s leveling procedure. Resolve any warning before treating the reference as ready.
- Relate the beam to your datum. Set the required height or measure a clearly recorded offset. The beam does not have to pass through every fixing hole.
- Transfer the hardware dimensions. Measure across and vertically as required, marking the center of each intended fixing position.
- Check the entire arrangement. Confirm spacing, clearances, and the relationship to doors, furniture, or nearby fixtures before installing anything.
A fixed offset can be easier to preserve than repeatedly trying to place the laser line directly through a small mark. For example, the instrument may sit comfortably below the intended fixture height. Record that offset and use it consistently instead of balancing the tool on an unsuitable support.
Pictures: Work Back From the Finished Edge
Imagine two frames with their top edges intended to align. In a hypothetical example, one fixing sits 2 inches below the top edge and the other sits 3 inches below it. The two wall fixing marks would be at different heights even though the finished tops should match.
That example is a relationship, not a recommended hardware setting. Measure your actual frames in their hanging condition. If wire is involved, establish the supported position of the wire and hook according to the hardware arrangement rather than measuring a loose wire lying against the back.
Paper templates can help judge visual spacing before making holes. Identify which marks represent finished edges and which represent actual fixing centers. Remove or cross out obsolete ticks so a trial layout does not survive as the final drilling instruction.
Shelves: A Level Surface and Level Holes Are Different Questions
With a shelf, identify the relevant finished surface and the bracket geometry. Some brackets share a common hole pattern; others locate the shelf through an offset rail or concealed support. Transfer the manufacturer’s dimensions from the chosen datum, then check the shelf’s expected relationship to the wall.
The laser levels for mounting shelves guide is useful when comparing how to hold a clear horizontal reference beside the bracket positions. The laser helps with layout; the wall construction, anchors, and shelf system determine the fixing requirements and supported load.
Wallpaper: Start With a Plumb Reference
A corner is a convenient starting feature, but it is not proof of plumb. Follow the wallpaper’s layout and overlap instructions, choose the first drop position, and use a suitable vertical reference to check the intended edge. Keep pattern and trimming allowances separate from the plumb line itself.
Compare laser levels for wallpaper layout if holding that vertical reference is the equipment problem. Keep the tool and its support clear of pasted material, and preserve the starting mark if the setup must move.
Painted Stripes: Decide Which Boundary You Are Marking
A stripe has two boundaries and a width. Plan the pattern over the whole wall before transferring one boundary at a time. Mark which side of each line receives tape, accounting for the intended painted width rather than repeatedly measuring from a possibly uneven baseboard.
For horizontal stripes, a shared level datum helps prevent small measurement changes from accumulating across the room. Intentional diagonal patterns require an intentionally angled reference, not an assumption that a self-leveling mode will preserve the chosen angle. Our laser levels for painting wall stripes compare the relevant reference arrangements.
TV Mounts: Use the Actual Template
Screen center, bracket center, wall-plate holes, and the final position of the television can all have different offsets. Work from the exact TV and mount instructions, including clearances and the supported mounting method. A level row of holes in the wrong location remains the wrong layout.
These laser levels for positioning a TV mount help compare wall references and support arrangements. Before making holes, confirm the template, underlying wall structure, hidden services, fixing requirements, and the mount’s relationship to the intended screen position.
Keep the Reference Accessible
Picture frames leaning against the wall, a large shelf, or the wall plate itself can hide the line you need. Plan the instrument position while the work area is still clear. If your hands repeatedly block the reference, moving the support may be more useful than adding another beam.
For a high or awkward working position, consider supporting the laser at the working height. Pins, adhesives, magnets, tripods, and poles have different surface and support requirements. Do not assume that any one of them will suit a freshly finished wall.
Finish by checking the installed result against the intended datum and dimensions. Fastening or loading the hardware can change the final position. Keep the datum until that check is complete, then remove only the marks no longer needed.
