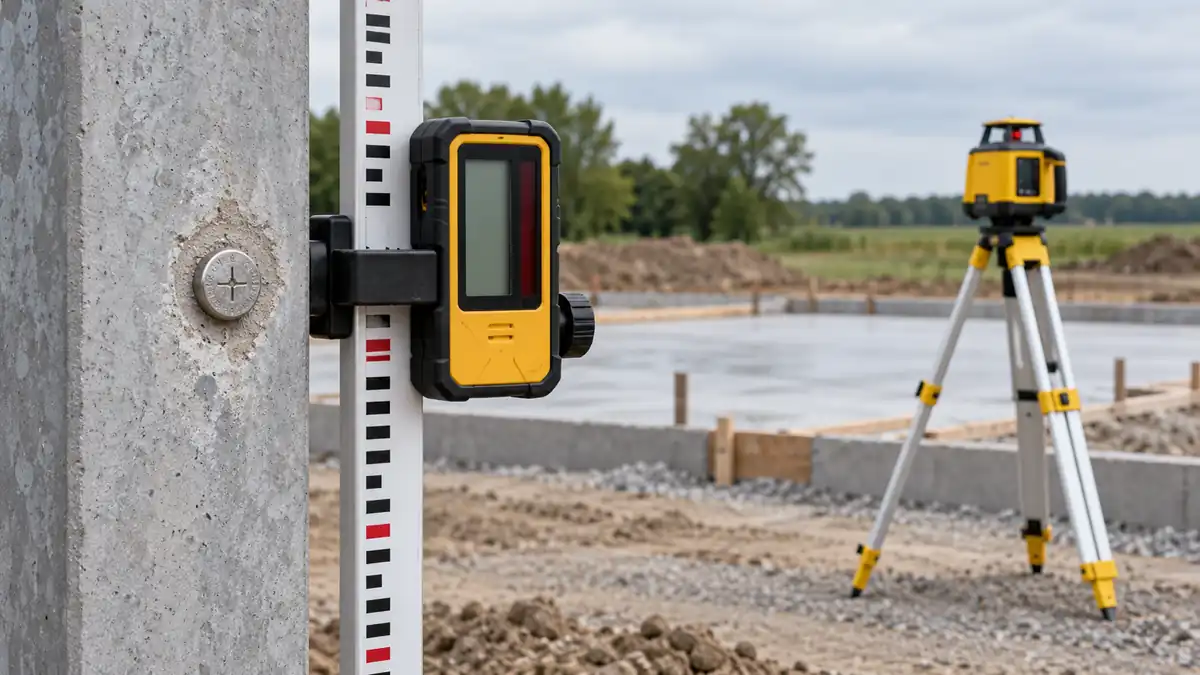
Knowing how to use a rotary laser level means connecting its reference to a preserved benchmark before comparing readings at other stations. Place the instrument on a stable support, establish the required mode, and use a compatible receiver and rod to locate the reference. Keep the benchmark connection intact whenever the instrument moves.
The transmitter, receiver, rod, and support form the working system. A receiver indication tells you where its sensing reference meets the laser, but the rod and benchmark give that indication meaning for an elevation check.
Compare rotary laser options with the complete routine in mind. A transmitter-only configuration and a package with receiver, rod, and tripod leave different preparation work before you can take the first useful reading.
How to Use a Rotary Laser Level: Prepare a Stable Reference
Choose a position with suitable footing, clear sight paths to the stations, and protection from likely movement during the work. Check the instrument and receiver instructions for the compatible combination, operating mode, and environmental limits.
Preserve a benchmark outside the work that might disturb it. It can be a clearly identified local reference for a comparative job; do not describe an arbitrary local mark as an official surveyed elevation. Record what it is, where it is, and how later readings will reconnect to it.
Keep rods clear of overhead electrical hazards and unsuitable conditions. A convenient receiver station is not an acceptable choice if reaching it makes the measuring arrangement unsafe.
Establish the System Before Reading Stations
- Secure the tripod and instrument. Use the documented mounting arrangement and a support that will remain stable.
- Select the appropriate mode. For the horizontal-reference method below, the laser must establish a horizontal plane, not an intentionally sloped one.
- Check the ready indication and required accuracy procedure. Follow the model’s operating conditions rather than assuming rotation proves readiness.
- Place the rod at the benchmark. Hold it upright using the rod’s documented vertical-check arrangement where supplied.
- Bring the receiver’s index to the on-reference position. Read the rod at the correct index, not at the top or bottom of the receiver body.
- Record the benchmark reading and setup. Use that relationship to interpret the station readings taken before the setup changes.
Receiver arrows and sounds help locate the reference, but their direction conventions and accuracy settings belong to the particular receiver. Learn them at the benchmark. Do not interpret an unfamiliar symbol while simultaneously deciding whether ground needs to be raised or lowered.
What the Rod Reading Means
For a conventional upright rod graduated upward from its foot, a reading is the vertical distance from the foot to the receiver’s reference index. With the laser plane fixed, a larger reading means the foot is farther below that plane. It therefore describes a lower station than a smaller reading, assuming the rod is upright and standing on the intended point.
You can write the relationship as station elevation = reference-plane elevation − rod reading. If the benchmark elevation is known for the job, add its rod reading to it to obtain the reference-plane elevation. For relative checks, keeping the benchmark reading and comparing the difference may be all the project needs.
A Worked Example in Decimal Feet
The following values are hypothetical arithmetic, not surveyed measurements. Assume a local benchmark has an assigned elevation of 100.00 feet, and the upright rod reading there is 4.25 feet. The horizontal reference plane is therefore at 104.25 feet in that local system.
| Station | Rod reading | Calculated elevation | Relative to benchmark |
|---|---|---|---|
| Benchmark | 4.25 ft | 100.00 ft | Starting reference |
| A | 4.75 ft | 99.50 ft | 0.50 ft lower |
| B | 4.00 ft | 100.25 ft | 0.25 ft higher |
These are decimal feet. A reading of 4.25 feet is 4 feet 3 inches, not 4 feet 25 inches. Use the actual rod’s scale and keep the recording convention consistent. Mixing decimal feet with feet-and-inches is enough to spoil an otherwise careful check.
Use the Reference for the Project You Actually Have
On a general jobsite, the laser levels for construction work guide compares different reference arrangements. A construction task may need a wall line, point transfer, or a receiver-based field system; the word “construction” does not make every instrument suitable for every one of those jobs.
For formwork, establish which mark describes the intended concrete elevation and any specified offset. Check the forms against that relationship rather than assuming the top of every visible board represents the finished surface. These laser levels for concrete work compare the relevant measuring systems and packages.
A masonry project might transfer a site elevation or relate courses and openings to a datum. For a short local wall reference, a suitable line laser can be more appropriate than arranging an entire rotary system. The laser levels for masonry work comparison covers those different working needs.
Keep Grade Calculations Separate From the Basic Reading
A horizontal plane supplies a reference from which you can measure different target elevations. It does not require every target to finish level. With a known design, rod readings can be compared with the required elevations at each station.
Follow using the measurements against a planned grade for that calculation. A documented slope mode introduces a different setup, including axis direction and independent checks against the design. Do not treat an intentionally tilted instrument as though the horizontal-plane arithmetic still applies unchanged.
Recheck After a Move or Disturbance
If the transmitter moves, the reference-plane elevation may change even after the instrument levels again. Return to a preserved benchmark and establish the new relationship before combining the new readings with the earlier record.
For a practical sequence, see reconnecting outdoor checks after moving stations. Identify the setup in your notes so a reading taken before lunch is not silently combined with a different instrument height afterward.
A bump alert is useful only as described by its manufacturer. It does not eliminate the need to reconnect the reference when there is a reason to doubt it. Likewise, a field accuracy check does not repair calibration errors; DEWALT’s rotary-laser instructions distinguish those checks from correcting the instrument.
Keep the benchmark, scale convention, receiver setting, and setup identity with the readings. That small record is what allows someone to understand the measurement later, after the rotating light and tripod have been packed away.
